oil less turkey fryer manual
Oil-Less Turkey Fryer Manual: A Comprehensive Guide
Discover a safer, healthier way to enjoy perfectly cooked turkey! This manual details oil-less frying, addressing risks like frozen turkey and hot oil interactions․
Understanding Oil-Less Turkey Fryer Technology
Traditional turkey frying submerges the bird in gallons of hot oil, presenting significant safety concerns․ Oil-less fryers, however, utilize a different approach – primarily convection heating․ These innovative appliances circulate hot air rapidly around the turkey, achieving crispy skin and juicy meat without the need for oil․
This technology relies on a heating element and a fan to distribute heat evenly․ Some models incorporate infrared heating for enhanced browning․ The enclosed design minimizes splatter and reduces the risk of burns associated with hot oil․ Understanding this core difference is crucial for safe and effective operation․ It’s a modern solution offering convenience and peace of mind during holiday cooking․
Benefits of Oil-Less Turkey Frying

Oil-less turkey frying offers a compelling alternative to traditional methods, prioritizing health and safety․ The most significant benefit is the elimination of hot oil, drastically reducing the risk of fires and severe burns․ This makes it a much safer option, especially around families and pets;
Furthermore, oil-less frying results in a healthier turkey, as it avoids the absorption of large amounts of fat․ The cooking process also tends to be faster than conventional roasting, saving valuable time during busy holidays․ Cleanup is considerably easier, without the messy disposal of used oil; Enjoy a delicious, safely cooked turkey with minimal hassle!
Safety Precautions: A Critical Overview
While oil-less fryers enhance safety, vigilance remains paramount․ Always operate the fryer on a stable, level surface, away from flammable materials․ Never leave the fryer unattended during operation, and keep children and pets at a safe distance․ Ensure the unit is completely dry before use to avoid electrical hazards․

Proper ventilation is crucial; operate the fryer outdoors or in a well-ventilated area․ Avoid overfilling the fryer basket, and never attempt to fry a partially frozen turkey – complete thawing is essential․ Regularly inspect the heating element and power cord for damage․ Prioritizing these precautions ensures a safe and enjoyable cooking experience․
Preventing Fires and Burns
Oil-less fryers significantly reduce fire risk, but caution is still vital․ Ensure the fryer is positioned away from combustible materials like decks, siding, or overhanging branches․ Never use an extension cord unless absolutely necessary, and always use a heavy-duty, grounded cord․ Avoid operating the fryer in windy conditions, which can displace hot components․
When handling the hot turkey or fryer basket, always wear heat-resistant gloves and use long-handled utensils․ Be mindful of escaping steam, which can cause severe burns․ If a fire does occur, do not use water – smother it with baking soda or a fire extinguisher rated for grease fires․ Prioritize personal safety above all else․
Avoiding Electrical Hazards
Electrical safety is paramount when operating any appliance, especially near food․ Always ensure the fryer is plugged into a grounded outlet, and never use a damaged cord․ Avoid operating the fryer in wet conditions – even slight moisture can create a shock hazard․ Inspect the power cord before each use for any signs of wear or damage․
Never attempt to modify the fryer’s electrical components or bypass safety features․ If the fryer experiences an electrical malfunction, immediately unplug it and do not attempt to repair it yourself; contact a qualified technician․ Keep the power cord away from hot surfaces and ensure it doesn’t become a tripping hazard․ Prioritize dry hands when handling the appliance․
Proper Ventilation Requirements
Adequate ventilation is crucial when using an oil-less turkey fryer, even though it doesn’t involve hot oil splatter․ The cooking process still generates steam and aromas that can accumulate, potentially triggering smoke detectors or creating an uncomfortable environment․ Always operate the fryer in a well-ventilated area, ideally outdoors․
If indoor use is unavoidable, ensure a strong exhaust fan is running to remove airborne particles and odors․ Avoid placing the fryer near flammable materials or curtains․ Maintain a clear space around the appliance to allow for proper airflow․ Never obstruct the fryer’s ventilation openings during operation, as this can lead to overheating or malfunction․
Choosing the Right Oil-Less Turkey Fryer
Selecting the ideal oil-less turkey fryer requires careful consideration of your needs and preferences․ Begin by assessing the typical size of turkeys you plan to cook; capacity is a primary factor․ Fryers range from smaller models suitable for 10-12 pound birds to larger units accommodating 18-20 pound turkeys․
Look for features like adjustable temperature controls, digital timers, and automatic shut-off functions for enhanced safety and convenience․ Prioritize models constructed from durable, high-quality materials․ Research brand reputation and read customer reviews to gauge reliability and performance․ A well-regarded brand often indicates better build quality and customer support․
Capacity Considerations
Determining the appropriate fryer capacity is crucial for optimal results and safety․ Consider the average weight of the turkeys you intend to cook; a fryer too small will lead to overcrowding and uneven cooking․ Conversely, a significantly oversized unit wastes energy and space․
Most oil-less fryers specify a maximum turkey weight․ Always adhere to this limit․ For families or gatherings requiring larger turkeys, opt for a model with a higher capacity․ Remember to account for the turkey’s dimensions, not just its weight, as some fryers have height restrictions․ Prioritize a unit that comfortably accommodates your typical needs, leaving a margin for occasional larger birds․
Features to Look For
When selecting an oil-less turkey fryer, prioritize features enhancing safety and convenience․ Digital temperature controls offer precise heating and consistent results, eliminating guesswork․ Automatic shut-off functions provide an extra layer of security, preventing overheating; Look for models with clear, easy-to-read displays for monitoring cooking progress․
Consider fryers with integrated timers, allowing for hands-free operation․ Removable components simplify cleaning and maintenance․ Some models include accessories like lifting hooks or basting kits, adding versatility․ A sturdy construction and stable base are essential for preventing accidents․ Prioritize features aligning with your cooking style and safety preferences․
Brand Reputation and Reviews
Researching brand reputation is crucial before investing in an oil-less turkey fryer․ Established brands often demonstrate a commitment to quality, safety, and customer support․ Explore online reviews from verified purchasers to gain insights into real-world performance․
Pay attention to recurring themes in reviews – consistent praise or frequent complaints can be telling․ Check for feedback regarding durability, ease of use, and customer service responsiveness․ Consider brands offering comprehensive warranties, indicating confidence in their products; Websites and forums dedicated to cooking appliances can provide valuable comparative information․ A strong reputation suggests reliability and a positive ownership experience․
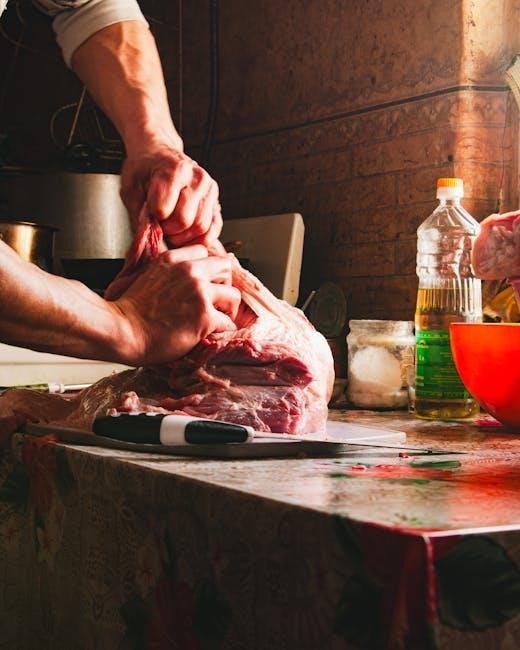
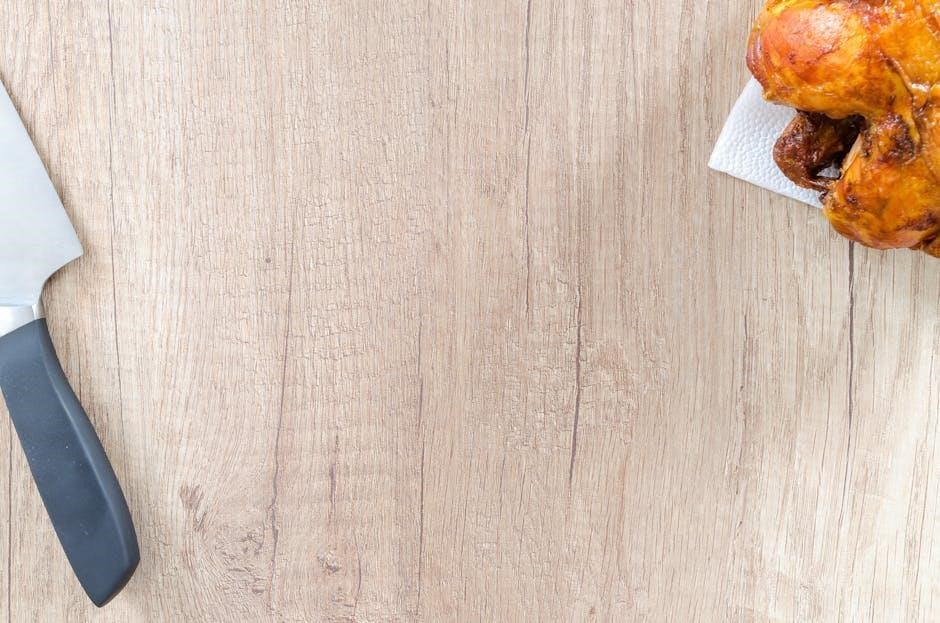
Preparing the Turkey for Oil-Less Frying
Proper turkey preparation is paramount for optimal results and safety with your oil-less fryer․ Begin by ensuring the turkey is completely thawed – a partially frozen bird poses significant risks, potentially leading to uneven cooking or equipment damage․ Brining or seasoning enhances flavor and moisture retention; experiment with your favorite rubs and marinades․
Critically, thoroughly pat the turkey dry with paper towels․ Excess moisture can hinder the cooking process and affect the final texture․ Removing surface water promotes crispier skin and prevents steaming․ Internal temperature monitoring is essential throughout the process, guaranteeing a safe and delicious outcome․
Thawing the Turkey Completely
A fully thawed turkey is non-negotiable for safe and effective oil-less frying․ Partial freezing introduces dangerous steam when exposed to heat, potentially causing splattering or even equipment malfunction․ The safest method is refrigerator thawing: allow approximately 24 hours for every 4-5 pounds of turkey․
Alternatively, submerge the turkey in cold water, changing the water every 30 minutes, allowing roughly 30 minutes per pound․ Never thaw at room temperature, as this encourages bacterial growth․ Confirm complete thawing by checking the innermost part of the thigh – it should be pliable, not icy․ A thawed turkey ensures even cooking and optimal flavor․
Brining and Seasoning Techniques
Enhance your turkey’s flavor and moisture with proper brining and seasoning․ A brine, typically a saltwater solution with added herbs and spices, penetrates the meat, resulting in a juicier, more flavorful final product․ Submerge the thawed turkey in brine for 12-24 hours, ensuring it’s fully covered and refrigerated․
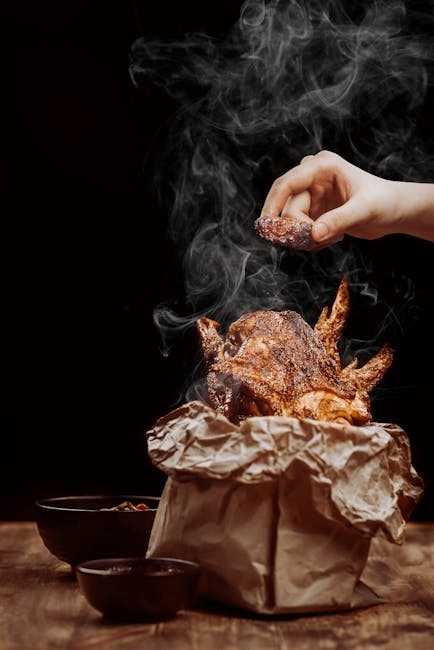
For seasoning, consider dry rubs applied under the skin and inside the cavity․ Popular choices include paprika, garlic powder, onion powder, and various herbs․ Experiment with Cajun blends for a spicy kick! Pat the turkey dry after brining and seasoning to promote crispy skin during the oil-less frying process․
Patting the Turkey Dry – Essential Step
Achieving crispy skin with an oil-less fryer hinges on a thoroughly dry turkey․ Moisture is the enemy of crispiness; any surface water will steam instead of brown, leading to soggy results․ After brining and seasoning, use paper towels to meticulously pat down the entire turkey – inside and out․
Pay special attention to the cavity and under the skin․ Repeat this process several times, replacing the paper towels as they become saturated․ A truly dry surface ensures optimal heat circulation and promotes even cooking․ This step is non-negotiable for a delicious, golden-brown, and satisfyingly crisp oil-less fried turkey․
Operating the Oil-Less Turkey Fryer

Before your first use, inspect all components and ensure proper assembly․ A brief test run, without the turkey, is crucial to familiarize yourself with the controls and heating cycle․ Always place the fryer on a stable, level, non-combustible surface, away from any flammable materials․
Carefully position the turkey within the fryer basket, ensuring it doesn’t obstruct the heating element․ Monitor the internal temperature using a meat thermometer inserted into the thickest part of the thigh․ Adjust temperature settings as needed, referencing the cooking time guidelines provided later in this manual for optimal results․ Consistent monitoring is key to a perfectly cooked bird․
Initial Setup and Testing
Unpack your oil-less turkey fryer and verify all parts are present, referencing the included parts list․ Ensure the heating element is securely fastened and free from any damage․ Before introducing food, conduct a test run to confirm functionality․ Plug the fryer into a grounded outlet and set the timer to a low temperature for approximately 15 minutes․
Observe the heating element; it should glow consistently․ This initial test verifies the electrical connection and heating capabilities․ Allow the unit to cool completely before handling․ This preliminary step helps identify potential issues before cooking, ensuring a safe and successful frying experience․ Never leave the fryer unattended during this initial testing phase․
Temperature Control and Monitoring
Precise temperature control is crucial for safe and delicious results․ Oil-less fryers utilize digital controls; familiarize yourself with the settings before operation․ Most models feature adjustable temperature dials and pre-programmed settings for various food types․ Continuously monitor the internal temperature using the built-in thermometer or a separate meat thermometer․
Avoid exceeding the recommended temperature for your turkey size, as this can lead to uneven cooking or a dry final product․ Regularly check the temperature throughout the cooking process, adjusting as needed․ Consistent monitoring ensures the turkey reaches a safe internal temperature, eliminating potential health risks․ Accurate temperature management is key to a perfectly cooked bird․
Cooking Time Guidelines
Cooking time varies based on the turkey’s weight and the fryer’s wattage․ A general rule is approximately 45-60 minutes per pound, but always verify with your fryer’s specific instructions․ Smaller turkeys (under 12 pounds) will cook faster, while larger ones require extended cooking times․
Begin checking the internal temperature after the minimum estimated time․ Use a meat thermometer inserted into the thickest part of the thigh, avoiding the bone․ The turkey is safely cooked when it reaches 165°F (74°C)․ Allow for resting time after cooking; this allows the juices to redistribute, resulting in a more tender and flavorful turkey․
Troubleshooting Common Issues
Encountering problems? A fryer failing to heat often indicates a power supply issue – check the outlet and cord․ Uneven cooking can stem from improper turkey positioning or insufficient preheating; ensure even heat distribution․
If the unit displays error codes, consult the manual for specific meanings and solutions․ Common codes relate to temperature sensor malfunctions or heating element failures․ Never attempt self-repair of electrical components․ Contact customer support for assistance․ Always prioritize safety; disconnect the fryer before inspecting any parts; Ignoring issues can lead to malfunction or safety hazards․
Fryer Not Heating Up
Is your fryer unresponsive? First, verify the power cord is securely plugged into a functioning outlet․ Test the outlet with another appliance to confirm it’s delivering power․ Check the fryer’s power switch – ensure it’s in the ‘on’ position․ Inspect the heating element for any visible damage or obstructions․
If the element appears intact, the thermal fuse might have blown, requiring professional replacement․ A faulty temperature sensor can also prevent heating․ Never attempt to bypass safety features․ If these checks fail, contact qualified service personnel for diagnosis and repair; do not disassemble the unit yourself․
Uneven Cooking
Experiencing hot and cold spots? Uneven cooking often stems from improper turkey preparation․ Ensure the turkey is fully thawed and patted completely dry – moisture hinders consistent heat circulation․ Verify the heating element is clean and unobstructed for optimal performance․
Rotate the turkey periodically during the cooking process to promote even browning and thorough cooking․ Avoid overcrowding the fryer; maintain adequate space around the bird for air to circulate․ Monitor the internal temperature in multiple locations (thigh, breast) using a meat thermometer to guarantee safe consumption․ Adjust cooking time as needed․
Error Codes and Their Meanings
Decoding your fryer’s signals is crucial! Error codes indicate specific issues requiring attention․ “E1” often signals a temperature sensor malfunction – contact support for repair․ “E2” may indicate a heating element failure, preventing proper cooking․ “E3” typically points to a power supply problem; check the connection and circuit breaker․
Refer to your model’s specific manual for a complete list and detailed troubleshooting steps․ Ignoring error codes can lead to unsafe operation or damage the unit․ Never attempt to bypass safety features or disassemble the fryer yourself․ Contact qualified technicians for complex repairs․
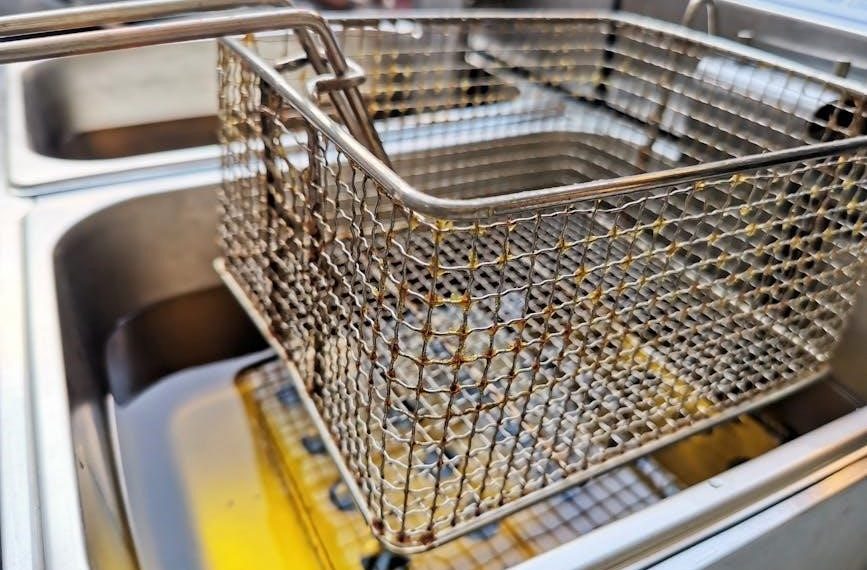
Cleaning and Maintenance
Maintaining your oil-less fryer ensures longevity and food safety! After each use, allow the unit to cool completely before cleaning․ Remove any food debris from the cooking basket and interior surfaces with a damp cloth and mild detergent․ Avoid abrasive cleaners that could damage the non-stick coating․
Regularly inspect the heating element and temperature probe for buildup․ For long-term storage, ensure the fryer is completely dry to prevent corrosion․ Replace worn components according to the schedule in your manual․ Proper care guarantees years of delicious, safely cooked turkeys!
Post-Fry Cleaning Procedures
Immediate cleaning after frying is crucial! Begin by disconnecting the fryer and allowing it to cool completely – safety first! Carefully remove the cooked turkey and discard any remaining drippings․ Wipe down the interior surfaces with paper towels to absorb excess grease․
Next, disassemble removable parts like the cooking basket and drip tray․ Wash these components with warm, soapy water․ For stubborn residue, a gentle degreaser can be used․ Never immerse the fryer base in water! Wipe the exterior with a damp cloth․ Thorough drying prevents corrosion and ensures optimal performance for future use․
Long-Term Storage Instructions
Proper storage extends your fryer’s lifespan! After thorough cleaning and drying, ensure all components are completely dry to prevent mold or rust․ Store the fryer in a cool, dry place, away from direct sunlight and extreme temperatures․ Consider the original packaging for protection, or use a large, sturdy box․
Wrap the power cord loosely to avoid damage․ If possible, store the fryer indoors, like a garage or basement․ Periodically check for any signs of corrosion during extended storage․ Avoid stacking heavy items on top, which could damage internal parts․ Proper care guarantees years of delicious, oil-less fried turkeys!
Component Replacement Schedule
Maintaining peak performance requires timely replacements! The heating element typically lasts 3-5 years, depending on usage frequency․ Regularly inspect for cracks or diminished heating capacity․ Replace the temperature probe every 2-3 years for accurate readings, ensuring food safety․ The drip tray should be checked after each use and replaced if damaged or excessively worn․
The cooking basket may need replacing annually if the non-stick coating deteriorates․ Power cords should be inspected yearly for fraying or damage; replace immediately if compromised․ Always use manufacturer-approved replacement parts to maintain warranty and safety standards․ Keep records of replacement dates for optimal maintenance!
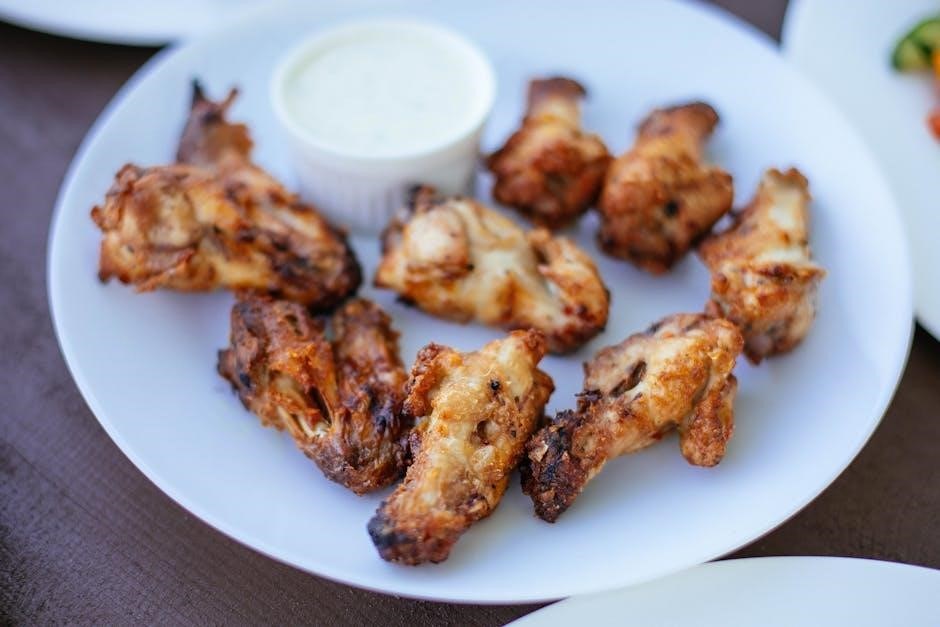
Recipes and Cooking Variations
Expand your culinary horizons beyond the traditional roast! For a Classic Roasted Turkey, simply season with salt, pepper, garlic powder, and herbs like rosemary and thyme․ A Spicy Cajun Turkey bursts with flavor using a blend of cayenne pepper, paprika, and other Cajun spices – perfect for a kick!
Try an Herb-Infused Turkey by placing fresh herbs (sage, thyme, rosemary) under the skin before cooking for a fragrant and juicy result․ Experiment with marinades – citrus-based or even a maple-mustard glaze adds delightful complexity․ Remember to adjust cooking times based on turkey size and desired internal temperature․ Enjoy!
Classic Roasted Turkey Recipe
Yields: 8-12 servings․ Prep time: 20 minutes․ Cook time: Varies by weight (see guidelines)․
Ingredients: 12-14 lb turkey, 1 tbsp salt, 1 tsp black pepper, 1 tsp garlic powder, 1 tsp onion powder, 2 tbsp poultry seasoning, 1/2 cup butter (softened)․
Instructions: Pat turkey dry․ Combine seasonings and rub all over the turkey, including under the skin․ Spread softened butter evenly over the skin․ Place turkey in the oil-less fryer basket․ Cook according to fryer’s temperature and weight guidelines, ensuring an internal temperature of 165°F (74°C) in the thickest part of the thigh․ Let rest 15 minutes before carving․
Spicy Cajun Turkey Recipe
Yields: 8-12 servings․ Prep time: 30 minutes (plus brining time)․ Cook time: Varies by weight (see fryer guidelines)․
Ingredients: 12-14 lb turkey, 1/4 cup Cajun seasoning, 2 tbsp paprika, 1 tbsp cayenne pepper, 1 tbsp garlic powder, 1 tbsp onion powder, 1 tsp black pepper, 1/2 cup butter (softened), 1/4 cup vegetable oil․
Instructions: Brine turkey for 12-24 hours․ Combine Cajun seasoning, paprika, cayenne, garlic powder, onion powder, and pepper․ Pat turkey dry and rub seasoning mixture all over, including under the skin․ Spread softened butter and oil evenly․ Place in fryer basket and cook per weight guidelines, reaching 165°F (74°C) internally․ Rest 15 minutes before carving․
Herb-Infused Turkey Recipe
Yields: 10-14 servings․ Prep time: 45 minutes (plus marinating)․ Cook time: Dependent on fryer and turkey weight – consult manual․
Ingredients: 12-14 lb turkey, 1/4 cup olive oil, 2 tbsp fresh rosemary (chopped), 2 tbsp fresh thyme (chopped), 2 tbsp fresh sage (chopped), 4 cloves garlic (minced), 1 lemon (quartered), salt and pepper to taste․

Instructions: Combine olive oil, rosemary, thyme, sage, garlic, salt, and pepper․ Rub mixture thoroughly over the entire turkey, including under the skin․ Place lemon quarters inside the turkey cavity․ Marinate for at least 4 hours, or preferably overnight․ Pat dry before placing in the fryer basket․ Cook until internal temperature reaches 165°F (74°C)․ Let rest for 10-15 minutes before carving․